‘Decisions’ tab will only be visible if ‘Project Issue Action Decision’ section is activated in the object editor area of the respective Issue Register object.
By default, the ‘Decisions’ tab will display all decisions in the current editable Issue Register object, if you have view permission for the corresponding Issue Register object.
◊ If an issue register object is selected in the ‘Select Object’ dropdown (when the ‘Select Object’ dropdown is activated), the ‘Decisions’ tab will display all decisions available in the selected Issue Register object based on your view permission to the corresponding Issue Register object.
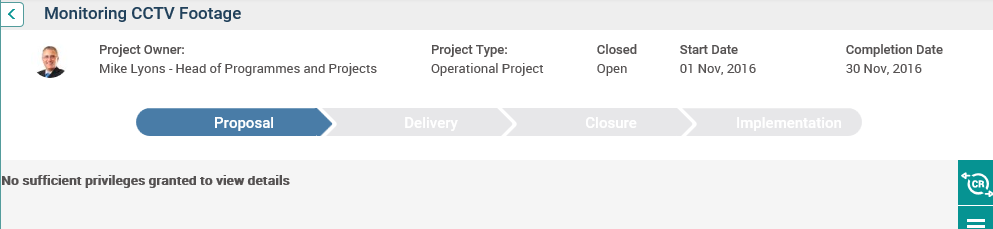
◊ If you do not have view permission to the corresponding Issue Register object, then the message “No sufficient privileges granted to view details” will be shown when you navigate to the ‘Decisions’ tab.
1. The Decisions tab will display all fields for which the visibility is set to true in the ‘Project Issue Action Decision’ section within the object editor area of the corresponding ‘Issue Register’ object. The fields will be enabled and compulsory based on field configurations in the object editor area of the Issue Register object.

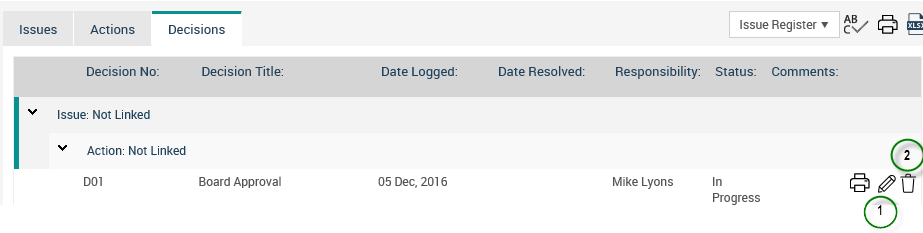
2. Decisions are first grouped by the ‘Issue’, then by the ‘Issue Action’ which the decision is linked to.
3. Issues are ordered by the ‘Issue No’. Issue actions under a particular issue should be ordered by the ‘Action No’. Decisions under a particular issue action should be ordered by the ‘Decision No’.
4. You will be able to edit the inline columns by clicking on edit icon (as shown 1 in image below) adjacent to the decision. The edit icon will only be visible if you have Add/Edit permission to the corresponding Issue Register object.
5. The Date Resolved field will be enabled when the status of the decision (‘Decision Status’) is “Resolved”. Otherwise, it will be blank.
6. You will be able to delete an existing decision by clicking on the delete Icon (shown as 2 in image below) adjacent to the decision.The delete icon will only be visible if you have ‘Can Delete’ permission for the corresponding Issue Register object.
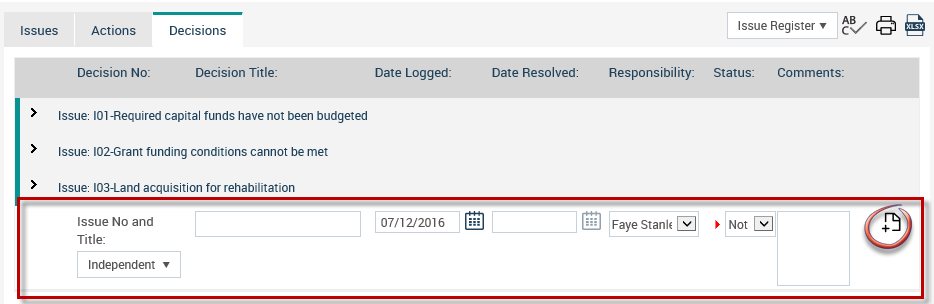
Adding a New Decision
You can enter relevant details and then click on the ‘Add Decision’ button at footer. The fields will be enabled and compulsory based on field configurations in the object editor area of the Issue Register object.
NOTE: Issue No and Title dropdown: This dropdown will load a hierarchy which includes issues and issue actions depending on the linkages activated in object configuration area of the respective Issue Register object.
Copyright © 2014-2015 CAMMS Online Help. All rights reserved.
Last revised: November 26, 2017