
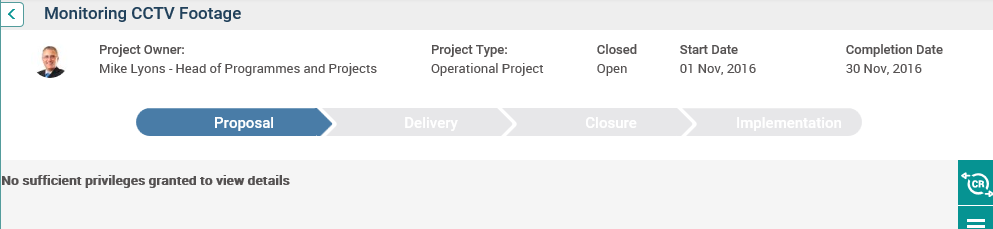
Selecting “Documents” in the Quick Update dropdown will load the current editable Attach Document object within the project hub.
However, if you do not have view permission to the current editable Attach Document object, then the message “No sufficient privileges granted to view details” will be shown.
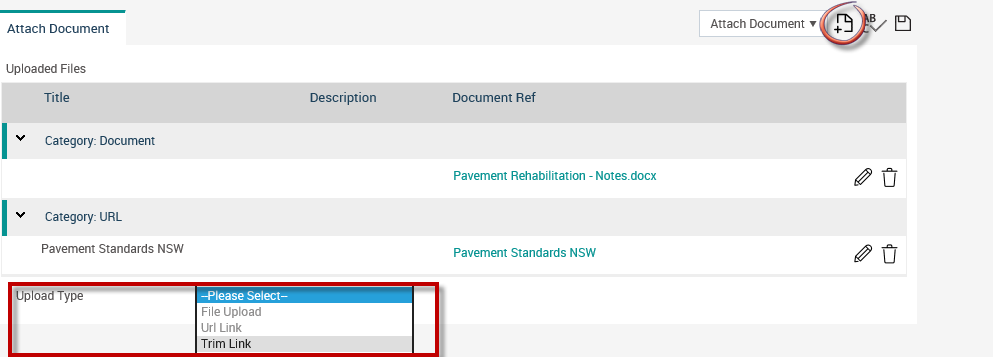
From the dropdown list on top, you can select the attach document object.
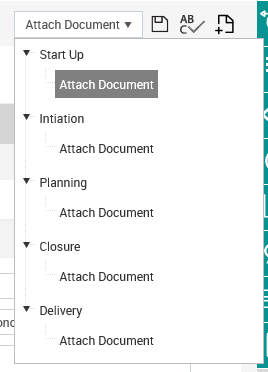
The grid information is grouped by the following items:
Document – Displays all uploaded documents
URL – Displays all uploaded URL links
Trim Link - Displays all uploaded trim links
Share Point Link – Displays all uploaded share point links
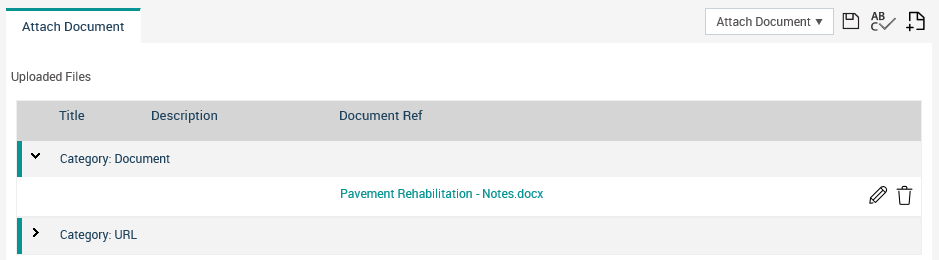
The following information for each document/links uploaded is displayed on the grid:
Title (‘Title’ will be a hyperlink to the uploaded document or link)
Description
Project Ref.
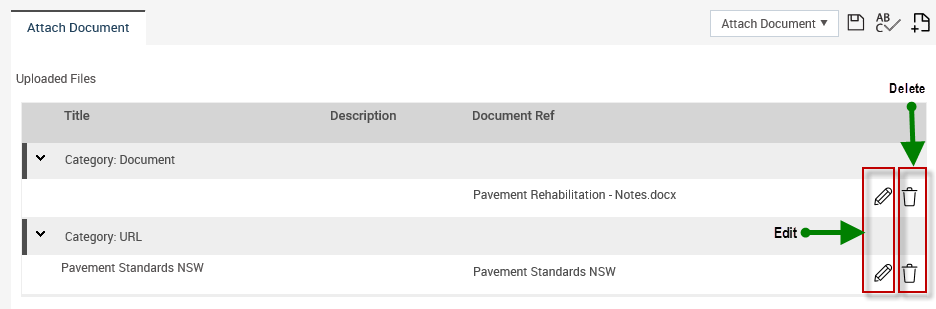
You can edit or delete an existing document upload by clicking on inline edit/delete icons.
Adding a New Document
In order to add a new document, first select the correct object type. Then click on the ‘Add’ button.
◊ The ‘Add’ button will only be visible if you have ‘Can Add’ permission to the respective Attach Document object.
Select the ‘Upload Type’ from the dropdown list.
File Upload
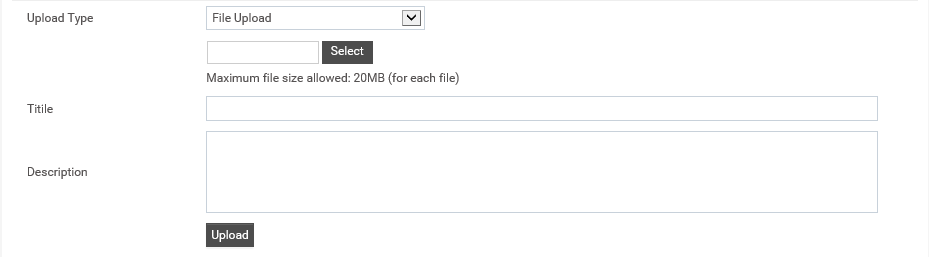
1. You can upload a file from a particular source.
2. Enter a Title and Description for the document.
3. Click on ‘Select’ button and locate the relevant file. You can click on the ‘Remove’ button to delete the uploaded file.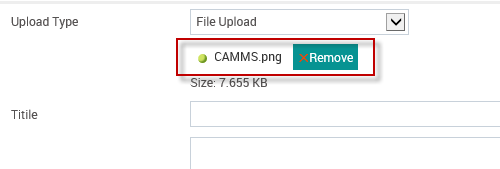
4. Click ‘Upload’. The document will appear under the Documents section of the grid.
Add an URL Link
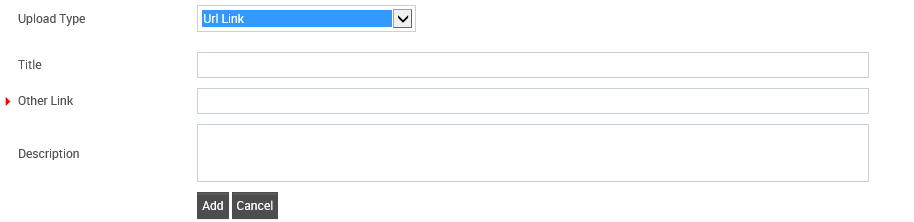
Enter the Title and Description for the URL.
Then type the correct URL and click ‘Add’.
Adding a TRIM Link
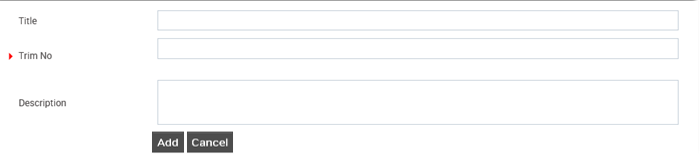
A title for the Trim Link should be mentioned under “Title”.
Corresponding document reference number from the Document Management System should be mentioned as the “Trim No”. This is a mandatory field.
Trim description can be stated under “Trim Description.” This field is not a mandatory field.
“Always Show Latest Document” checkbox can be ticked, if you want to see the newest version of the document related to mentioned Trim No.
You can upload the Trim link by clicking the “Add” button. “Title” field will be mapped with file name if the “Title” field is empty, when the “Add” button is triggered.
The Trim links uploaded will be displayed in the ‘Documents and Links’ grid under the “Trim Link” section.
Adding a Share Point Link
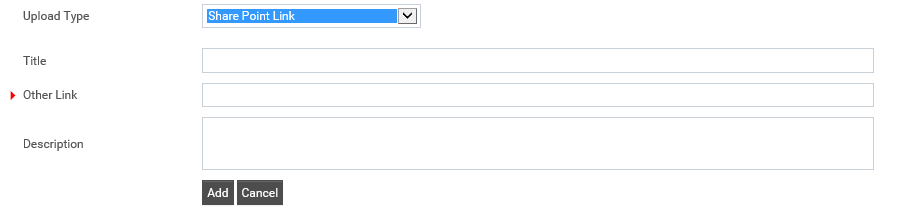
Select ‘Share Point Link’ from Upload Type dropdown.
Enter a title for the link.
Specify the share point link in ‘Other Link’ text-box.
Add a description and click on ‘Add’ to upload the link.
Copyright © 2014-2015 CAMMS Online Help. All rights reserved.
Last revised: November 26, 2017